Integrating CKEditor 5 with Electron from ZIP
You can add CKEditor 5 to an Electron desktop application by loading a custom editor build from a ZIP archive, the same way you would on a web page. Because Electron renders its windows with Chromium, the CKEditor 5 HTML editor runs in an Electron renderer process just as it would in a browser.
This guide will show you how to integrate CKEditor 5 with an Electron application using the ZIP archive. If you are new to Electron, check out their official tutorial.
The quickest way to set up an Electron project is to use Electron Forge’s create-electron-app command. Follow the Getting Started guide to create the application.
When executing npx create-electron-app@latest my-app in the terminal, you will be prompted to choose a bundler and a language. For the sake of this tutorial, we have chosen to use Vite and vanilla JavaScript.
When the setup is finished, you should be able to go to the app’s directory and run it by executing:
cd my-app
npm start
Now it is time to prepare a ZIP package with CKEditor 5 that will be used inside your Electron app. CKEditor 5 offers an Online Builder that allows you to configure your editor easily through a user-friendly interface. The Online Builder provides a convenient way to select features, plugins, and customize the toolbar according to your specific requirements without writing any code.
To create your custom CKEditor 5 build, visit the CKEditor 5 Online Builder. After choosing all desired features and settings for your editor, you will reach the final step where you can choose the preferred technology and integration method. For Electron integration, select “Vanilla JavaScript” and “Self-hosted (ZIP)”. In the last step, download the ZIP archive containing the editor.
The downloaded ZIP archive includes all files necessary for integrating CKEditor 5 into your Electron app, including the main JavaScript file, stylesheets, and sample implementation code. This package is ready for integration and does not require any additional build steps. Once you have your custom CKEditor 5 package, you can add it to your main Electron app folder.
After following all the steps described so far, your app’s structure should resemble this one:
├── ckeditor5-builder
├── forge.config.js
├── index.html
├── node_modules/
├── package-lock.json
├── package.json
├── src/
│   ├── index.css
│   ├── main.js
│   ├── preload.js
│   └── renderer.js
├── vite.main.config.mjs
├── vite.preload.config.mjs
└── vite.renderer.config.mjs
With ckeditor5-builder being the unzipped folder downloaded from the Online Builder.
Inside the src/ folder, create a new file editor.js with the following content:
const {
    ClassicEditor,
    Essentials,
    Bold,
    Italic,
    Font,
    Paragraph
} = CKEDITOR;

const { FormatPainter } = CKEDITOR_PREMIUM_FEATURES;

ClassicEditor
    .create( {
        attachTo: document.querySelector( '#editor' ),
        licenseKey: '<YOUR_LICENSE_KEY>',
        plugins: [ Essentials, Bold, Italic, Font, Paragraph, FormatPainter ],
        toolbar: [
            'undo', 'redo', '|', 'bold', 'italic', '|',
            'fontSize', 'fontFamily', 'fontColor', 'fontBackgroundColor', '|',
            'formatPainter'
        ]
    } )
    .then( /* ... */ )
    .catch( /* ... */ );
This code imports all necessary CKEditor 5 plugins and initializes the editor instance with the provided configuration.
Now modify the index.html file so it looks like this:
<!doctype html>
<html>
<head>
<meta charset="UTF-8" />
<title>Hello World!</title>
<link rel="stylesheet" href="./ckeditor5-builder/ckeditor5/ckeditor5.css">
<link rel="stylesheet" href="./ckeditor5-builder/ckeditor5-premium-features/ckeditor5-premium-features.css">
</head>
<body>
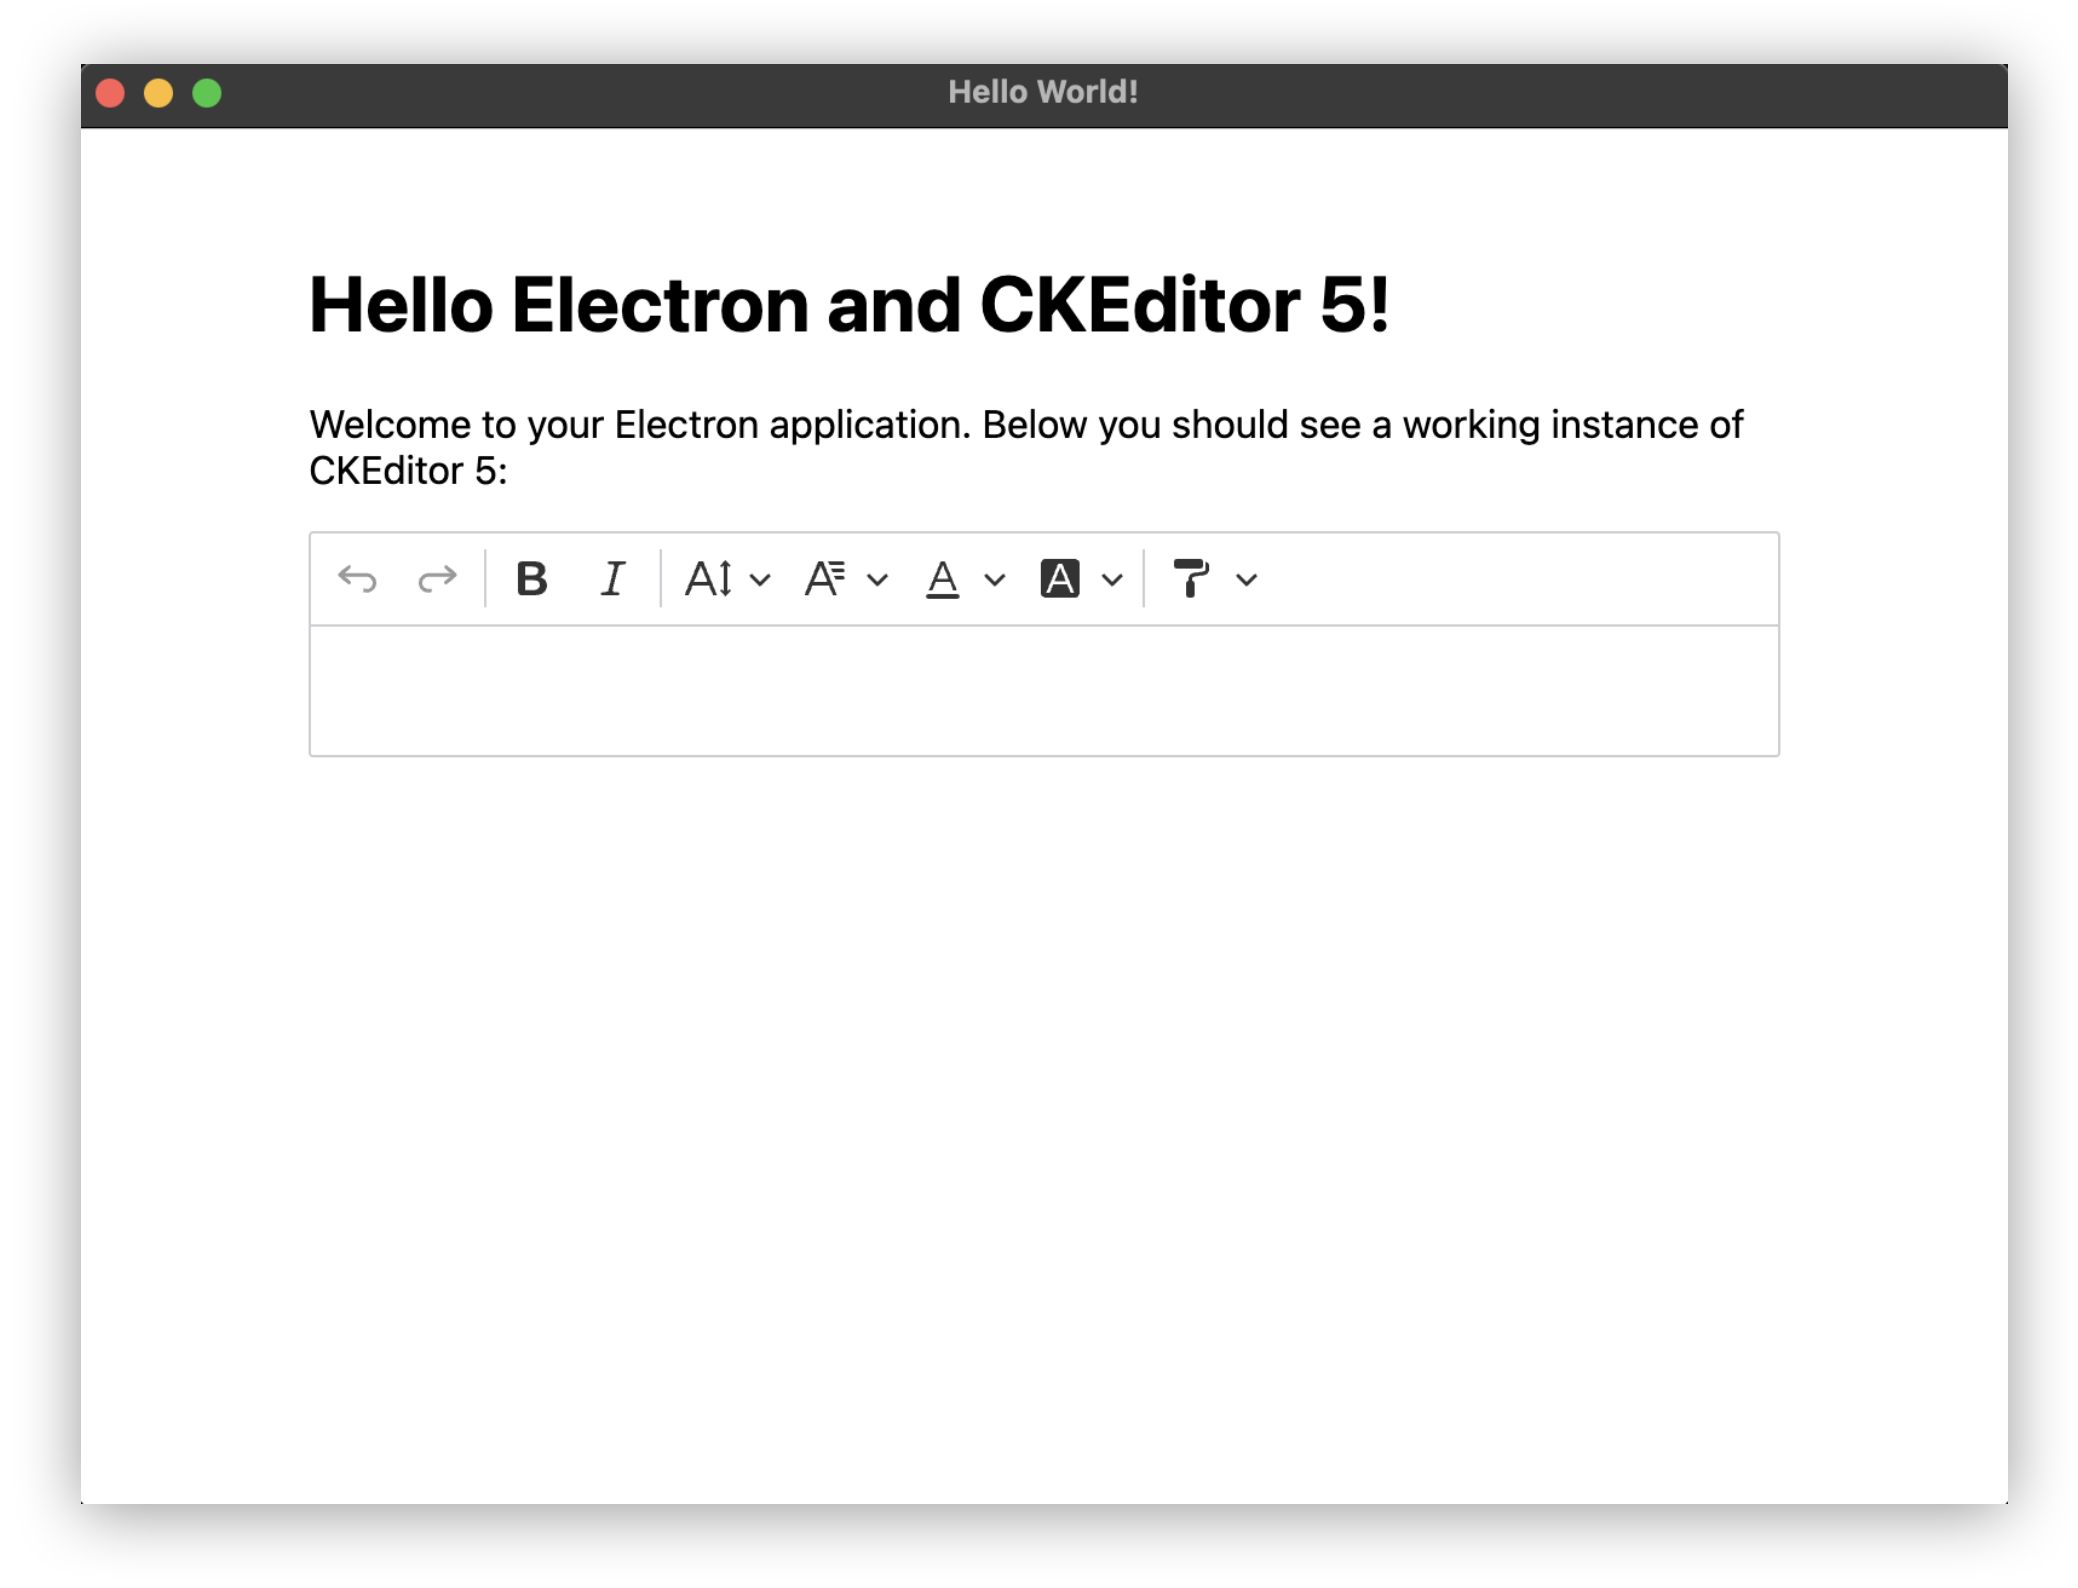
<h1>Hello Electron and CKEditor 5!</h1>
<p>Welcome to your Electron application. Below you should see a working instance of CKEditor 5:</p>
<div id="editor"></div>
<script src="./ckeditor5-builder/ckeditor5/ckeditor5.umd.js"></script>
<script src="./ckeditor5-builder/ckeditor5-premium-features/ckeditor5-premium-features.umd.js"></script>
<script src="./src/editor.js"></script>
<script type="module" src="/src/renderer.js"></script>
</body>
</html>
Here we adjusted the structure to include the <div> placeholder for the editor instance. We have also loaded the editor’s styles, browser build files, and finally the editor.js file, which is responsible for tying everything together and initializing the editor.
You can now execute npm start to run the Electron app. It should automatically open a window with an editor instance ready to be used:
To activate CKEditor 5 premium features, you will need a commercial license. The easiest way to get one is to sign up for the CKEditor Premium Features 14-day free trial.
You can also contact us to receive an offer tailored to your needs. To obtain an activation key, please follow the License key and activation guide.
- See how to manipulate the editor’s data in the Getting and setting data guide.
- Refer to further guides in the setup section to see how to customize your editor further.
- Check the features category to learn more about individual features.