Quick Start
The aim of this article is to get you up and running with CKEditor AI.
To start, follow the steps below:
- Sign up for one of our self-service plans, or contact us to purchase the CKEditor AI license.
- Generate your access credentials in the Customer Portal.
- Write a script that generates one-time tokens for authorizing end users of your application in CKEditor Cloud Services (using access credentials created earlier).
All steps are explained in details below.
You can also sign up for the CKEditor Premium Features 14-day free trial if you want to test this feature first.
The CKEditor Premium Features free trial allows for testing SaaS services. If you are interested in on-premises solutions, please contact us.
You can purchase CKEditor AI as an add-on to selected tiers of our self-service plans. You can find details on our pricing page.
You can also contact us directly if you would like to have a custom plan.
For testing purposes, you can sign up for the free trial.
After signing up, you will receive access to the customer dashboard (Customer Portal).
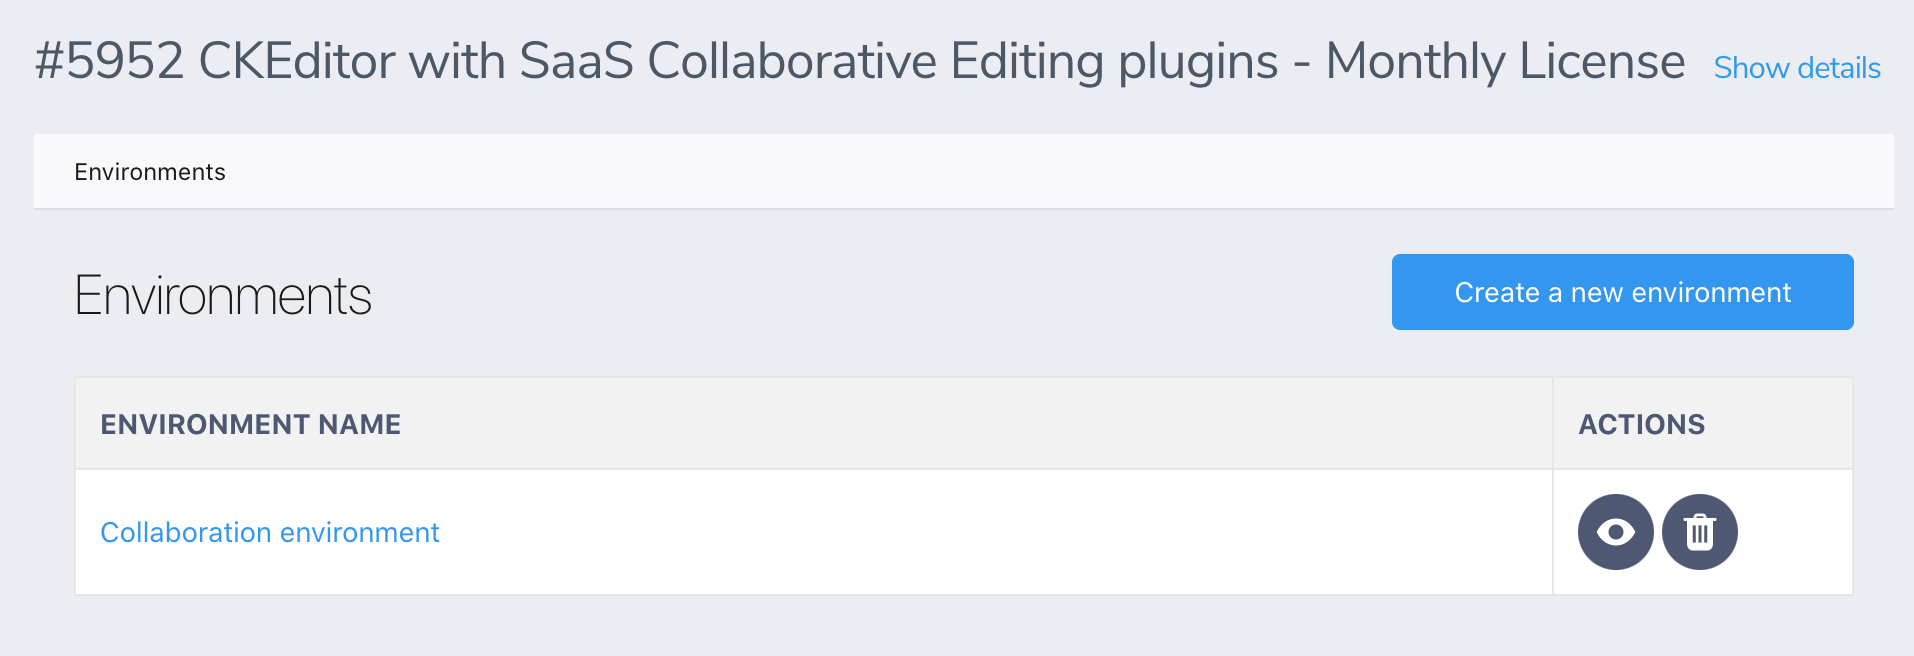
Log in to the Customer Portal and navigate to “Cloud environments”.

You now need to create a security token endpoint in your application. This endpoint securely authorizes end users of your application to use CKEditor AI features based on their permissions and access rights.
You will not be billed for the first 10 users generated from the Development token endpoint based on the sub (id).
Any additional user generated using the Development token endpoint will be billed as a normal user.
By default, this request returns a user from the pool of 10 predefined subs (user IDs). This will allow you to avoid unnecessary payments. If you want to extend this limit see this section.
If you are just starting, you may use the development token endpoint URL which is available out of the box and requires no coding on your side. The development token URL can be obtained in two simple steps:
- From the list of environments, select the one you want to manage. To create a new environment, follow the Environments management guide.
- The development token URL is accessible at the bottom of this section:
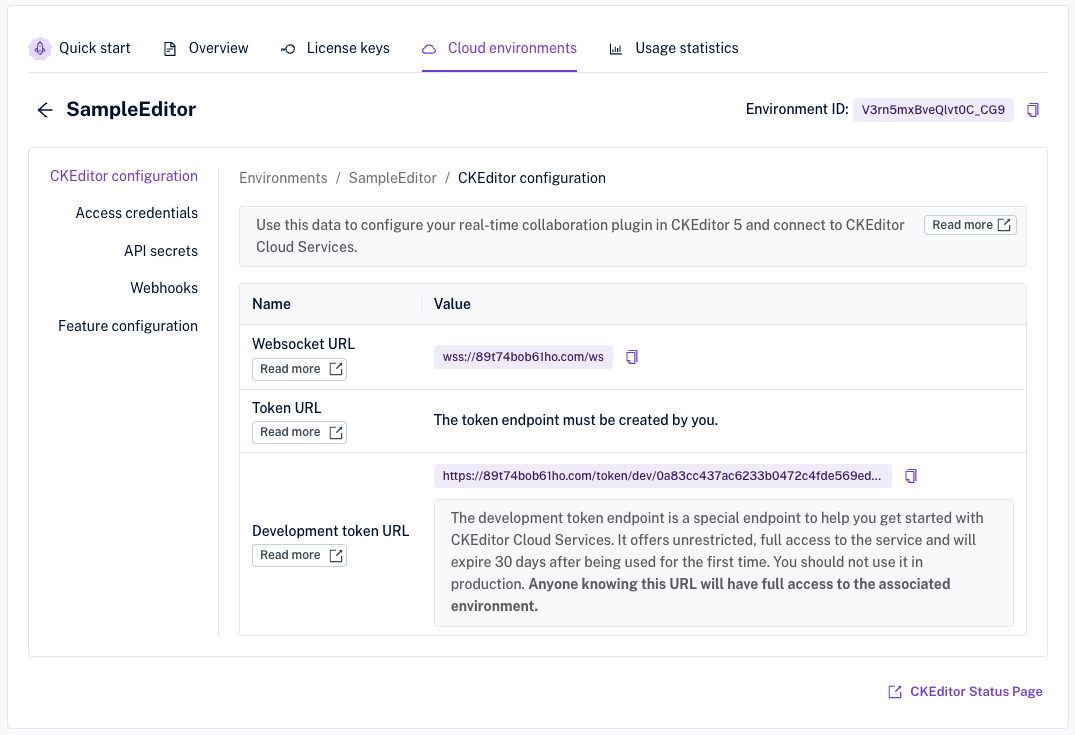
The development token endpoint is a special endpoint to help you get started with CKEditor Cloud Services. It offers unrestricted, full access to the service and will expire 30 days after being used for the first time. You should not use it on production. Anyone knowing this token’s URL will have full access to the associated environment.
The development token URL generates random user data by default from a pool of 10 predefined users. If you would like to specify a particular user for AI functionality, you may pass the user ID in the query string using:
sub(Optional) – The unique ID of the user in your system.
Example: If your token URL is https://17717-dev.cke-cs.com/token/dev/XXX, you can connect as user with ID “13” using: https://17717-dev.cke-cs.com/token/dev/XXX?sub=13
Remember that providing your user data in a token URL may lead to passing the free user limit. In such a case managing that limit will be on your side. For example, do not generate a random user sub every time you call this endpoint. Prepare some pool of defined user subs.
You may need to extend the default limit of 10 development users. Add a limit query parameter to your dev token URL:
Example:
https://17717-dev.cke-cs.com/token/dev/XXX?limit=40
This URL provides tokens from a pool of 40 predefined users. After the 10th token, you will start paying for development users. The maximum allowed value for the limit parameter is 50, so the maximum number of paid users will be 40 with predefined users. Using your own generated user IDs may result in an unpredictable number of paid users.
Skip this step if you use the development token endpoint.
To write your own security token endpoint, create access credentials for the selected environment by going to the “Access credentials” tab and clicking the “Create a new access key” button.
Read more in the Creating access credentials section of the Environments management guide.
Cloud Services can reside in either US or EU region or in both. The region is set per subscription and cannot be changed for existing environments by the user. For Custom plan with multi-region, you can choose the region during environment creation. This topic is addressed in more detail in the Environment management guide.
All features are accessible through the REST API at https://ai.cke-cs.com with JWT authentication. For detailed API examples and implementation guides, see:
- Conversations – Interactive AI discussions and document analysis.
- Reviews – Content improvement and quality analysis.
- Actions – Content transformation and batch processing.
- Streaming – Real-time AI interactions.
Complete API Documentation – Full API reference for CKEditor AI
Now that you made your first API call, explore the features:
- Conversations – Start with interactive AI discussions.
- AI Models – Choose the right model for your use case.
- Permissions – Set up user access control for production.
- Reviews – Add content improvement features.
- Actions – Implement content transformation.
CKEditor 5 includes built-in support for CKEditor AI features. To enable AI capabilities in your editor:
- Install the AI plugin – Add the CKEditor AI plugin to your CKEditor 5 build
- Configure credentials – Provide your Cloud Services token endpoint
- Customize features – Choose which AI features to enable (conversations, reviews, actions)
- Set permissions – Control user access through JWT token permissions
For detailed integration instructions, see the CKEditor 5 AI Features documentation.